Most music videos you see from independent artists cost less than $500. Many cost nothing but time. The barrier isn't budget—it's knowing the process. This guide walks you through making a music video from concept to release using tools you already own.
Build Your Concept from the Lyrics
Your lyrics contain the video. Read through them and identify the core emotion, the story, or the single image that anchors the song. Don't try to illustrate every line—that creates clutter. Pick one visual idea and commit.
If your song is about loss, maybe the concept is you walking through an empty house at dusk. If it's about ambition, film yourself in motion—trains, highways, climbing stairs. The best low-budget videos repeat one strong visual motif rather than attempting ten weak ones.
Write a one-sentence treatment: "Artist performs in a single room as natural light moves across the walls over the course of a day." That's enough. If you're working with strong lyrics, the words will carry the emotion; the video just needs to hold space for them.
Avoid narrative unless you have actors and locations locked. Performance videos—you, the camera, and a compelling location—are easier to execute and often more effective than poorly-acted storylines.
Create a Shot List That You Can Actually Execute
A shot list is a numbered list of every shot you need. It prevents you from wandering around hoping inspiration strikes. For a three-minute song, plan 20–30 shots. That's roughly one new shot every 5–8 seconds after editing.
Structure your list by location and camera setup to minimize moves. Group all wide shots together, then all close-ups, then all inserts. This saves hours.
Example shot list for a performance video:
- Wide: artist full body, centered, static camera
- Medium: artist waist-up, slow push-in
- Close-up: face, locked focus on eyes
- Insert: hands on instrument
- Insert: feet tapping
- Wide: artist silhouette against window
- Over-shoulder: artist facing away, turning back
Shoot each setup at least three times. Shoot some shots at different times of day if light is part of your concept. Variety in the edit comes from having options, not from complex camera moves.
If you're shooting outside, scout the location at the same time of day you'll film. Light changes everything. Golden hour (one hour after sunrise or before sunset) makes cheap gear look expensive.
Phone Gear: The Only Three Things You Need
Your phone shoots better video than professional cameras from ten years ago. The gear that matters:
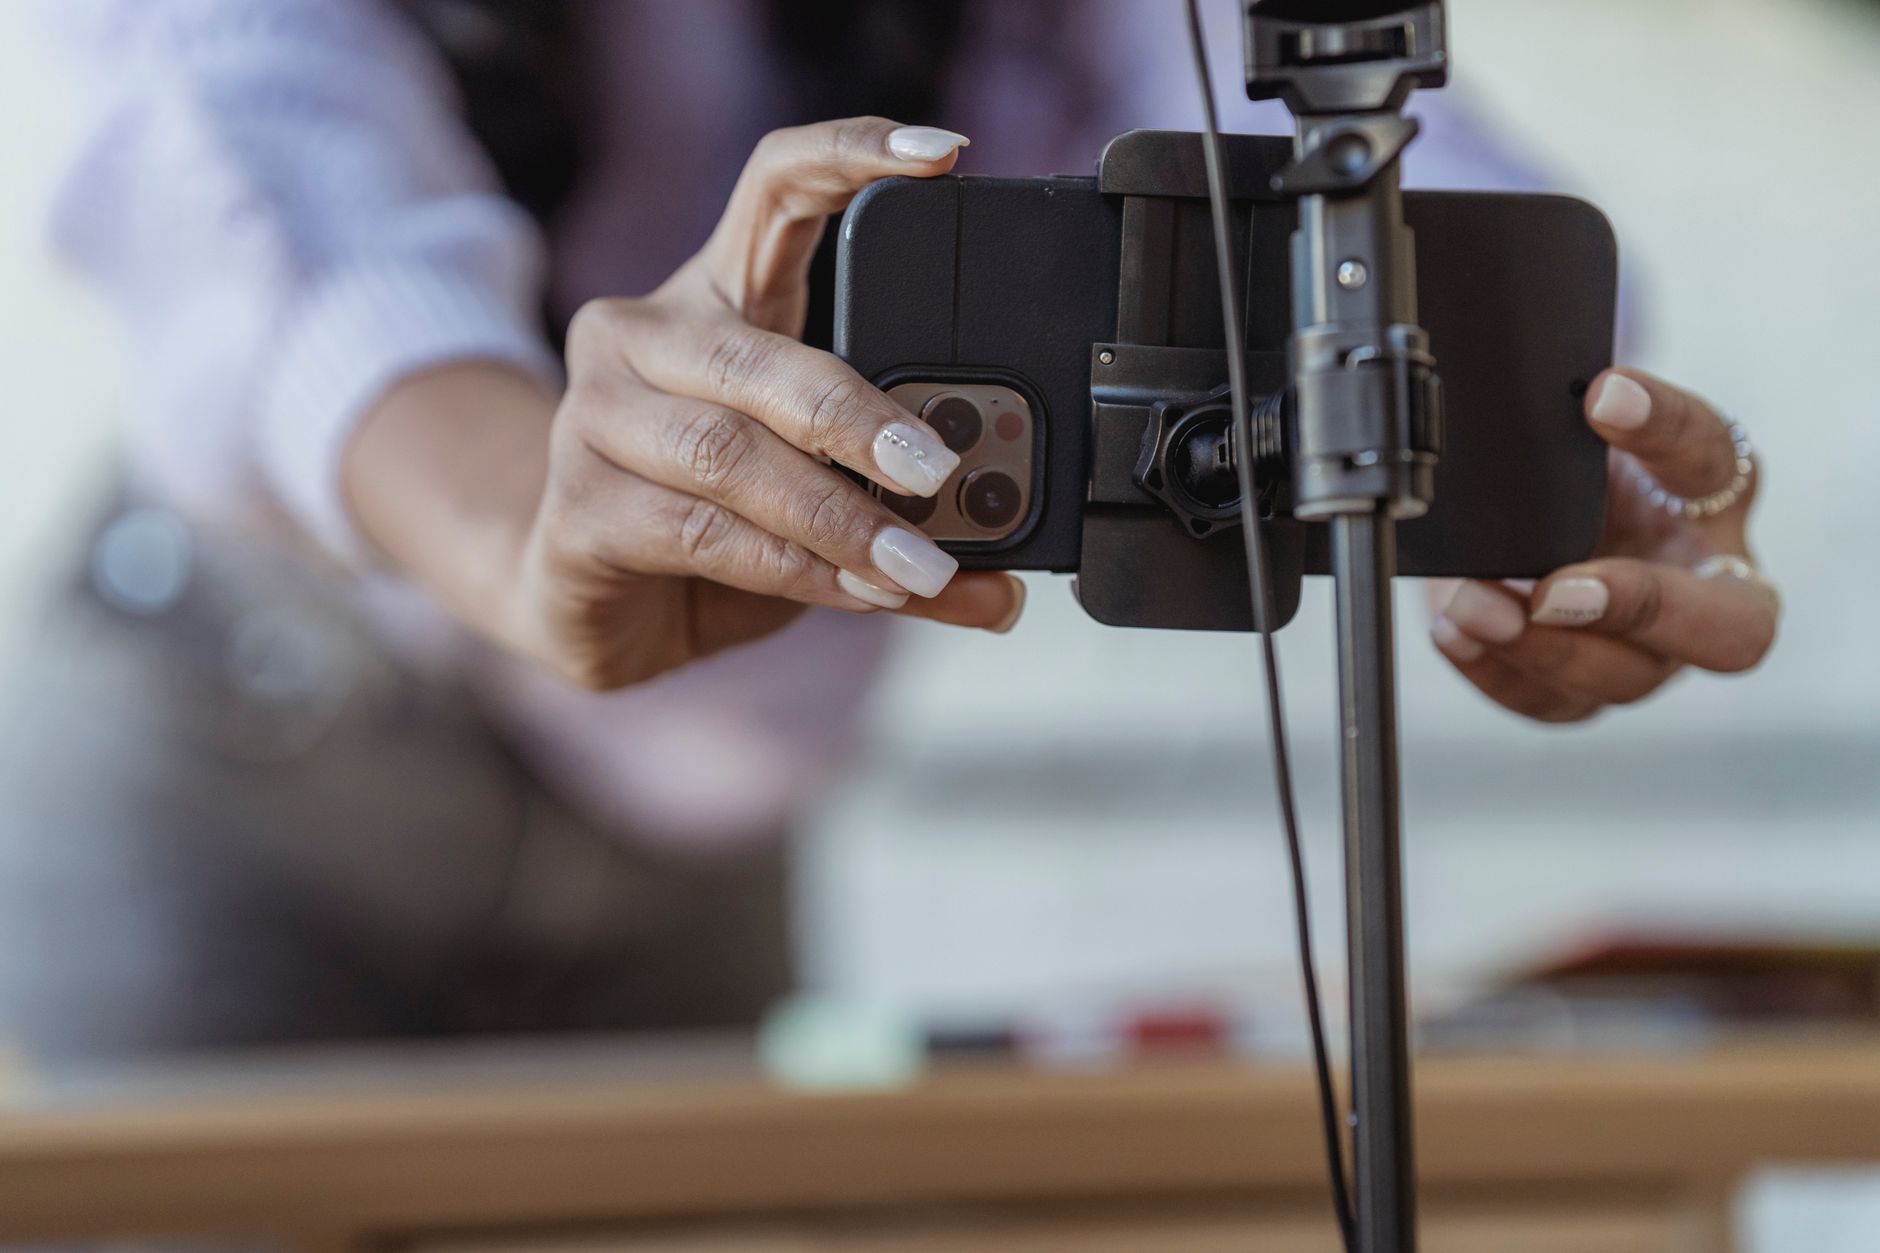
A tripod or stabilizer. Handheld works for 10 seconds of raw energy. For a full video, you need stability. A $20 phone tripod with a ball head gives you static shots. A $60 gimbal gives you smooth motion. Pick one.
An external microphone. If you're recording any live audio—even room tone or sync reference—your phone's built-in mic isn't enough. A $30 lavalier mic that plugs into your phone will work. But most music videos use the studio track, so this is optional unless you're doing a live performance capture.
Light control. You don't need to buy lights. Use windows, practicals (lamps in the frame), or shoot outside. A $15 reflector (white poster board works) bounces light into shadows. Avoid overhead fluorescents—they're unflattering and flicker on camera.
Shoot in your phone's highest resolution (4K if available) and in 24fps for a cinematic look. Lock exposure and focus by tapping and holding on your subject. Turn on grid lines to keep horizons level.
Editing: Cuts, Pacing, and Color
Import your footage and your final mixed track into your editor. If you're working with video and lyric overlays, Descript handles both video editing and text animation in one interface. For traditional editing, use iMovie (free on Mac/iOS), DaVinci Resolve (free on all platforms), or CapCut (free, mobile-friendly).
Sync your footage to the beat. Place cuts on snare hits, kick drums, or lyrical punches. A cut every 2–4 seconds keeps energy up. A cut every 8–10 seconds lets moments breathe. Match your pacing to the song's intensity.
Use three types of cuts: hard cuts (instant switch), crossfades (smooth blend, use sparingly), and J/L cuts (audio leads or lags the picture by a few frames—adds polish). Hard cuts on the beat are your foundation.
Color grade for consistency. Most phones oversaturate. Desaturate slightly, lift shadows, and add a subtle warm or cool tint. Presets work—find one you like and apply it to all clips. Consistency matters more than complexity.
Export in 1080p at high bitrate. YouTube and Instagram compress your video; starting with a high-quality file minimizes quality loss.
Release Strategy: Platforms and Timing
Upload to YouTube first. It's the second-largest search engine and music videos live there permanently. Write a description with your lyrics, credits, and links. Use tags: your artist name, song title, genre, and "official music video."
Create a custom thumbnail. Don't use an auto-generated frame. Use a high-contrast image of your face or a striking moment from the video with bold, readable text (song title or artist name). Thumbnails drive clicks.
Release on Instagram as a Reel (90 seconds or less—cut a short version if needed) and as a full video on your feed. Post to TikTok if the song or video has a hook that works in the first 3 seconds. Vertical crops (9:16) perform better on these platforms, so consider editing a vertical version.
Timing: release your video the same day your song drops on streaming platforms, or one week later to create a second wave of attention. Announce the video 48 hours in advance with a teaser clip.
Embed the video on your artist website. If you don't have one yet, build a simple site that collects emails and centralizes your content. A video on your own site keeps fans in your ecosystem instead of scattering them across platforms.
If you're exploring income streams from your music, a professional-looking video increases sync licensing opportunities and makes playlist curators take you seriously.
Common Mistakes and How to Avoid Them
Shooting without a plan. "We'll figure it out on the day" leads to unusable footage. Spend one hour planning and save four hours shooting.
Too many locations. Three locations mean three setups, three lighting scenarios, and three times the travel. One great location beats three mediocre ones.
Ignoring audio sync. Play your track on set through a speaker so you can lip-sync or move to the beat. Trying to sync in post without reference is a nightmare.
Over-editing. Beginners add too many effects. Cuts, basic color, and maybe one text overlay. That's it. Clean beats flashy.
Releasing without metadata. Your video needs a description, tags, and captions. Search engines and algorithms can't watch your video—they read your text.
FAQ
Do I need professional equipment to make a music video?
No. Modern smartphones shoot in 4K, and a $20 tripod stabilizes your shots. The concept, lighting, and editing matter more than the camera. Professionals use expensive gear to save time, not because cheap gear can't produce quality.
How long should a music video be?
Match the song length. If your track is 3 minutes, the video is 3 minutes. Don't add intros or outros unless they serve the story. For social media, cut a 15–60 second version that highlights the hook.
Can I make a music video by myself?
Yes. Set your phone on a tripod, frame the shot, hit record, and perform. Use a remote shutter or your phone's timer to start recording without touching it. Solo videos are harder to shoot but completely doable with planning.
If you need lyrics to build your concept around, try SONIQ to generate ideas fast.
Related reading
- How to Make Money from Music: 11 Real Income Streams
- How to Make a Musician Website That Sells Music and Merch
- Sync Licensing for Independent Artists: The Complete Playbook
Photo by George Milton on Pexels